Decorating a dolls’ house can be a fun and rewarding hobby. With the right techniques, you can create a miniature masterpiece that looks just like a real home. A well-decorated dolls’ house brings tiny spaces to life and lets you express your creativity on a small scale.
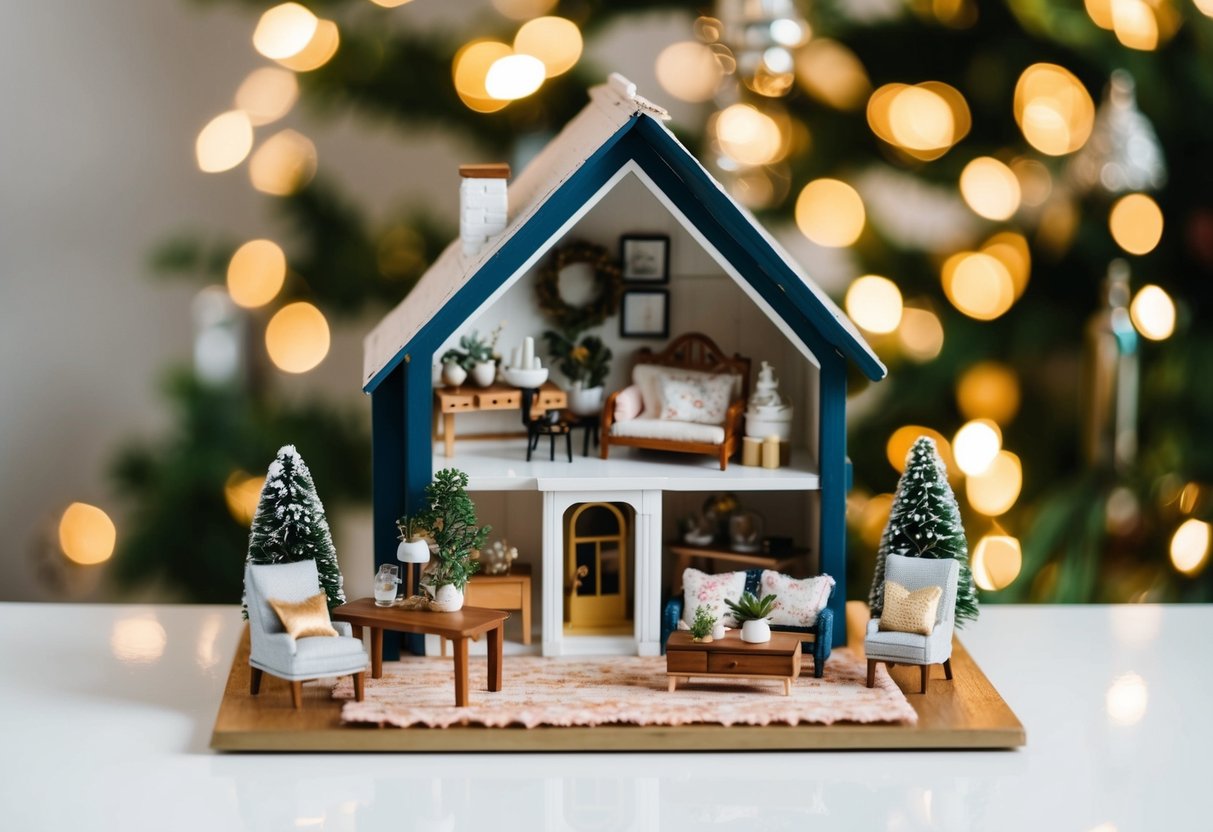 Careful planning and attention to detail are key when decorating a dolls’ house. From choosing paint colours to hanging wallpaper, each step requires patience and precision. The exterior is especially important, as it’s the first thing people see. Many enthusiasts use brick-patterned paper or paint to give their miniature homes a realistic look.
Inside the dolls’ house, you can let your imagination run wild. Tiny furniture, accessories, and decor allow you to design each room with a distinct style and personality. Whether you prefer a modern look or a vintage feel, there are endless options for making your dolls’ house unique.
Preparing Your Dolls’ House for Decorating
 Getting your dolls’ house ready for decorating is a crucial first step. Proper preparation ensures a smooth painting process and long-lasting results.
Choosing the Right Primer and Paint
Start with a quality primer to seal the surfaces. For wooden dolls’ houses, use a wood primer. MDF houses need a special MDF sealant. Apply the primer evenly with a small roller or brush.
For paint, acrylic and chalk finish furniture paints work well. They come in many colours and dry quickly. White paint is versatile as a base or for a clean look. Spray paint can give a smooth finish but needs careful application.
Car primer is another option for a durable base coat. It sticks well to many surfaces and provides good coverage.
Essential Tools and Materials
Gather these items before you begin:
- Small paintbrushes in various sizes
- Foam rollers for smooth surfaces
- Masking tape to protect edges
- Craft knife for precise cuts
- Sandpaper to smooth rough spots
- Clean cloths for wiping surfaces
Don’t forget glue for repairs or attaching decorations. A strong, quick-drying glue works best for most dolls’ house projects.
Organise your workspace with good lighting. Cover your work area to protect it from spills. Keep water handy for cleaning brushes between coats.
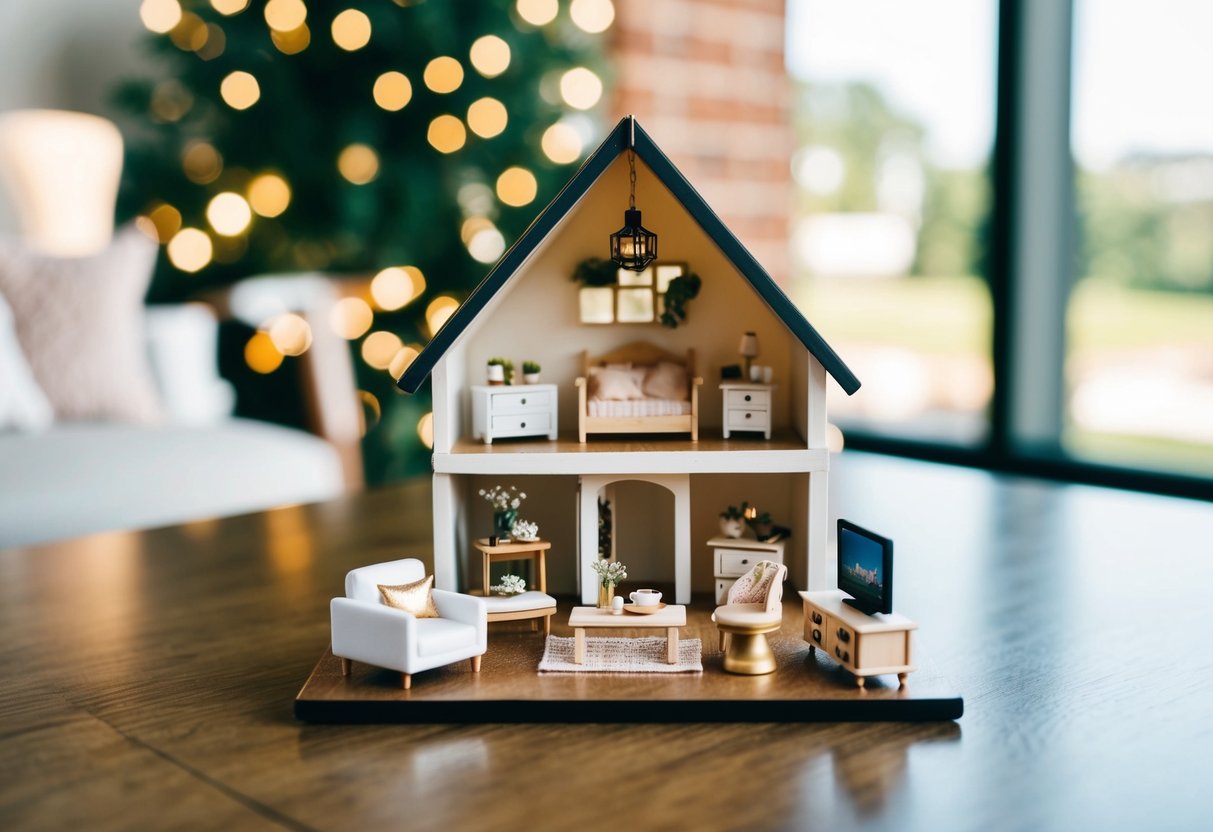
Design and Inspiration
 Crafting a stunning dolls’ house interior starts with a clear vision and creative ideas. A well-planned design can transform your miniature home into a captivating work of art.
Selecting a Theme
Pick a theme that speaks to you. Victorian, modern, rustic, or fantasy – the choice is yours. Your theme will guide your colour choices, furniture styles, and decor items.
Consider the era or style you want to recreate. For a vintage look, think floral wallpapers and antique furniture. If you fancy a modern vibe, opt for clean lines and minimalist decor.
Match your theme to the dolls’ house architecture. A Tudor-style house pairs well with medieval or Renaissance themes. A contemporary dollhouse suits sleek, urban designs.
Finding and Applying Inspiration
Look to real-world interiors for ideas. Flip through home decor magazines or browse online platforms like Pinterest. Save images that catch your eye for future reference.
Visit miniature shows or museums to see expert dollhouse designs up close. Take notes on clever layout ideas and unique decor elements you might want to try.
Study different design styles to understand their key features. Learn about colour theory to create harmonious palettes for your tiny rooms. Don’t be afraid to mix and match styles for a unique look.
Try mood boards to organise your ideas. Gather fabric swatches, paint chips, and tiny decor items to visualise your design before you start decorating. This helps ensure all elements work well together.
Painting Techniques and Tips
 Painting your dolls’ house can bring it to life with colour and character. The right techniques make all the difference in achieving a polished look.
Achieving Smooth Finishes
Start with a clean, dust-free surface. Apply a primer to help the paint adhere better. Use thin, even coats of paint rather than thick ones. Allow each coat to dry fully before adding the next.
Sand lightly between coats with fine-grit sandpaper. This creates a smooth base for the next layer. Repeat the process for a flawless finish.
Consider Rust-Oleum chalky finish furniture paint for a matte look. It’s great for dolls’ houses and doesn’t require priming on most surfaces.
Detailing with Brushes and Techniques
Choose the right brush size for each area. A 2-inch angled brush works well for walls and large surfaces. Use smaller brushes for trim and details.
Practice your brush strokes on scrap wood first. This dry run helps you get a feel for the paint and brush.
For crisp lines, use painter’s tape. Remove it while the paint is still slightly wet to avoid peeling.
Try dabbing techniques for texture on walls or roofs. Use a small sponge or crumpled paper for unique effects.
Finish with a clear sealant to protect your hard work and make it last longer.
Applying Wallpaper and Mouldings
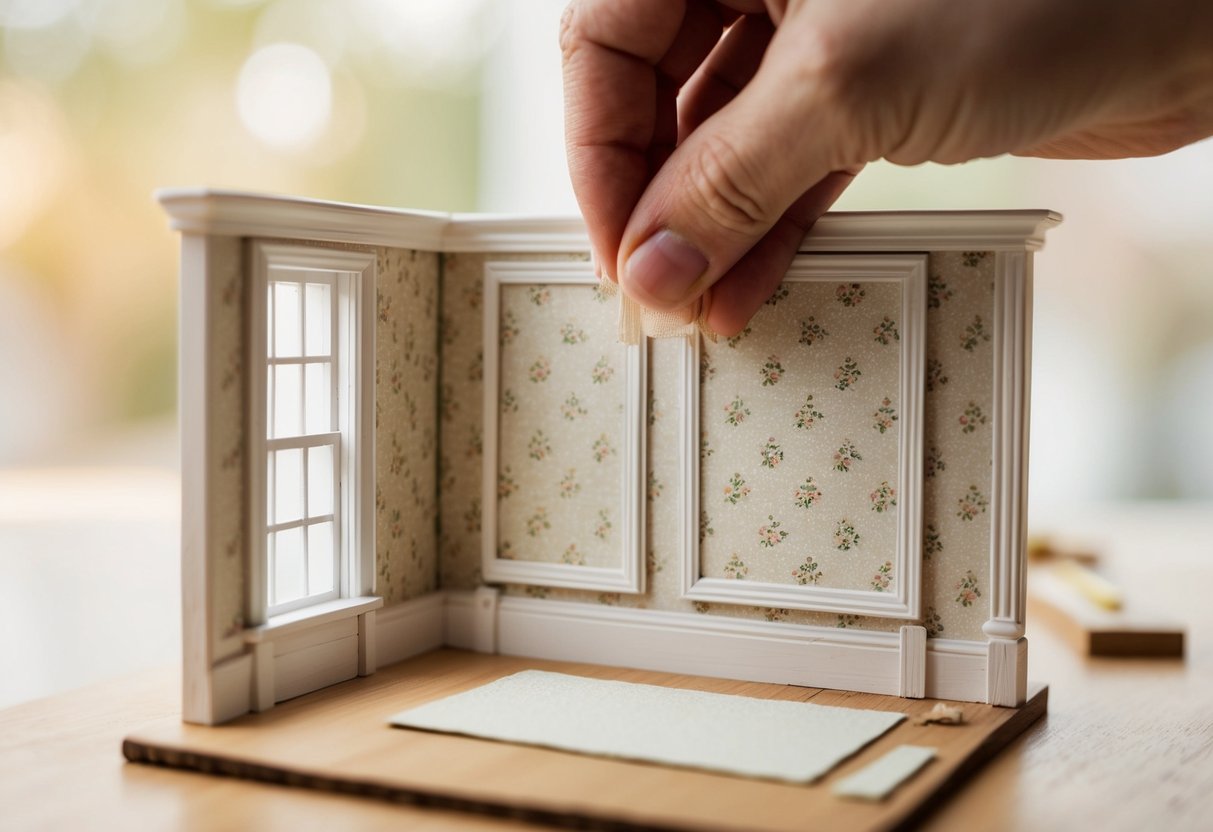 Wallpaper and mouldings add charm and detail to dolls’ houses. These elements can transform plain walls into stunning backdrops for miniature scenes. With the right techniques, you can achieve professional-looking results.
Choosing and Cutting Wallpaper
Pick wallpaper that suits your dolls’ house style. Printable wallpaper offers many design options. Measure walls carefully before cutting. Add an extra 1 cm to each edge for trimming.
Cut wallpaper with sharp scissors or a craft knife. Use a ruler to keep edges straight. For patterned paper, match designs at seams.
Sand walls lightly before papering. Apply a coat of white paint to stop glue soaking into wood. This helps wallpaper stick better.
Easy-to-glue wallpaper saves time. For other types, use wallpaper paste. Spread a thin layer on the back of the paper with a plastic spatula.
Fixing Mouldings and Trims
Mouldings add depth and character to rooms. Resin mouldings are durable and easy to paint. Wooden ones offer a classic look.
Skirting boards hide gaps between walls and floors. Cornices dress up the joint between walls and ceilings. Measure twice before cutting to avoid waste.
Use wood glue for wooden mouldings. For resin, try a strong craft adhesive. Hold pieces in place with masking tape until dry.
Paint mouldings before fixing for a neater finish. Touch up after fitting if needed. Small brushes help with detailed work.
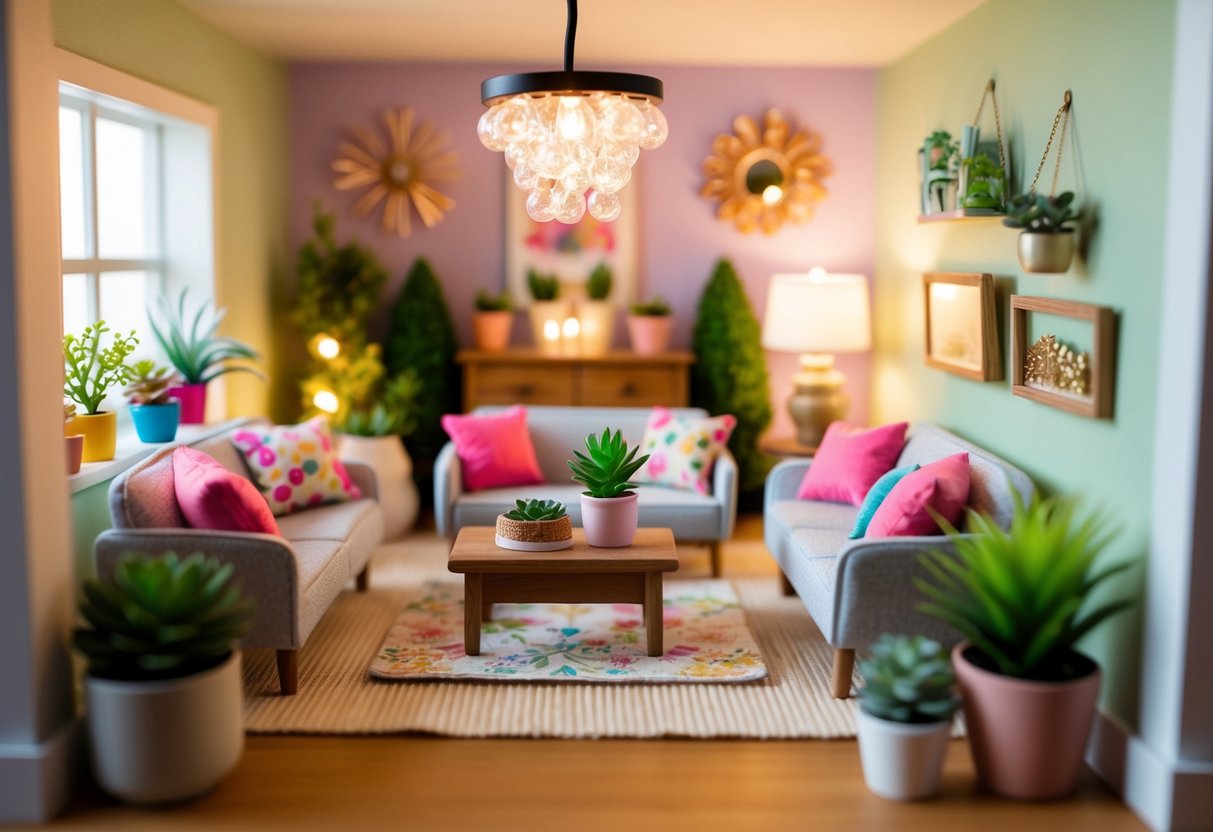
Decorating Fixtures and Fittings
The finishing touches make all the difference in a dolls’ house. Carefully chosen fixtures and fittings bring rooms to life and create a realistic miniature world.
Windows and Doors
Windows and doors are key focal points. Paint wooden frames with craft paint for a clean look. White is classic, but soft greys or pastels work well too. Add tiny curtains or blinds for extra realism.
Dollhouse windows often open, so paint both sides. Use masking tape for crisp edges. For a shabby chic style, lightly sand painted frames once dry.
Glass panes can be tricky. Clear acetate sheets work as a replacement. Cut to size and fix with clear glue. For period houses, try lead-effect window film to mimic old glass.
Doors benefit from chalk finish furniture paint. It gives a lovely matt look. Add tiny doorknobs and letter boxes for the final touch.
Furniture and Accessories
Furniture brings rooms to life. Paint wooden pieces to match your colour scheme. Chalk paint is easy to use and gives great coverage.
Sand lightly between coats for a smooth finish. Wax or varnish to protect. For a weathered look, dry brush with a contrasting colour.
Soft furnishings add comfort. Make tiny cushions from fabric scraps. Use felt for rugs – it’s easy to cut and doesn’t fray.
Pictures bring bare walls to life. Print miniature art or family photos. Craft shops sell tiny frames. Mirrors add depth to small spaces.
Don’t forget the small details. Miniature books, vases of flowers, and ornaments make a house feel lived in.